Secure fasteners
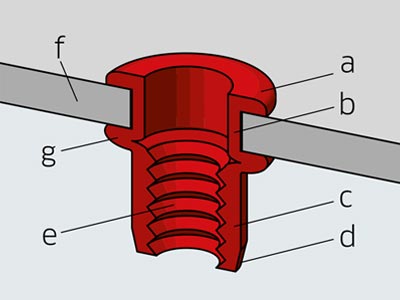
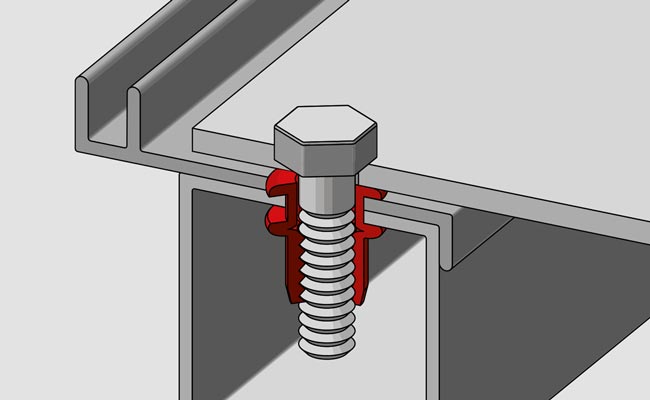
More and more users are coming round to and using the significant benefits of blind rivet nut technology. Unlike welded joints, which cause the material to warp, RIV-TI® fasteners can be quickly installed on one side and with little heat. Even on hollow profiles and pipes, the joints are guaranteed to fit perfectly and maintain their dimensional accuracy.
As a combined rivet/screw fastener, RIV-TI® offers numerous engineering benefits.
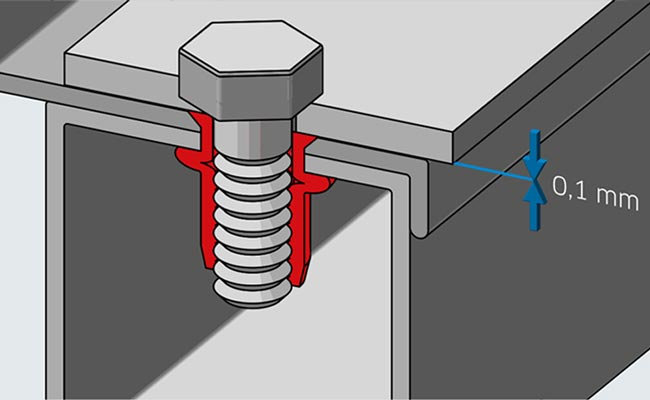
Fast installation as well as diverse applications are two of the standout features of this system: other components can be attached at the same time as the blind rivet nuts are installed. Once installed, the blind rivet nut offers a highly-durable internal thread for additional fastening options.
What’s more, RIV-TI® is gentle on materials and surfaces: even on enamel or varnished surfaces, RIV-TI® does not leave any traces or marks and is twist and warp resistant when fitted.
RIV-TI® is rational
As they install from one side, these blind rivet nuts are ideal for use on components that can only be accessed from one side, such as cavities, profiles or pipes. The bevelled end of the shank also speeds up the installation process.
RIV-TI® comes in many shapes and sizes
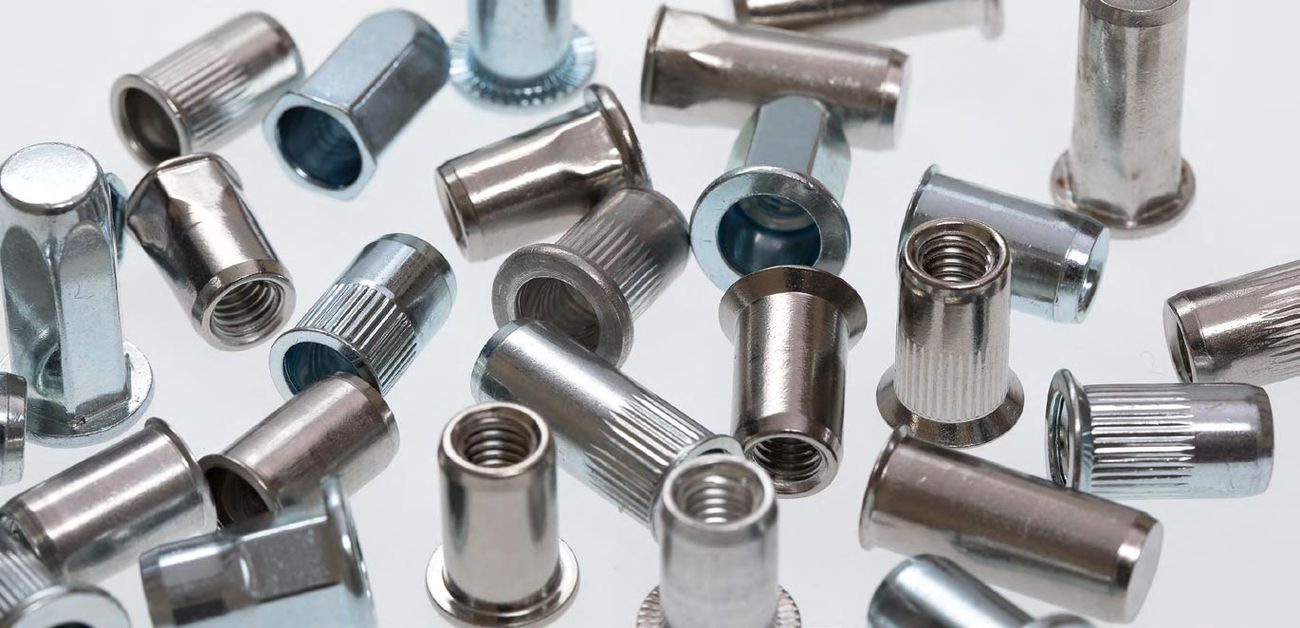
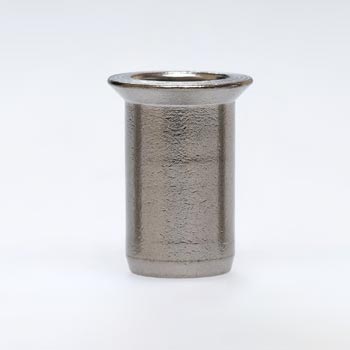
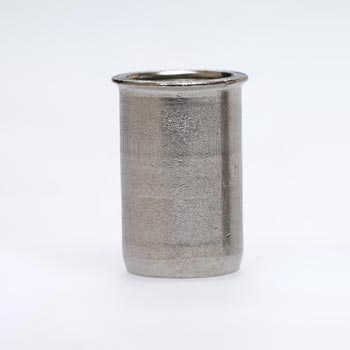
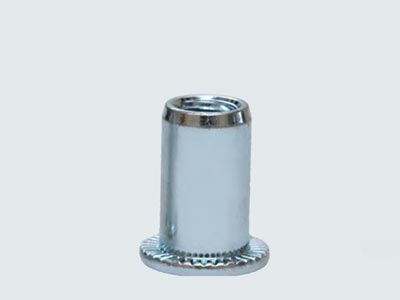
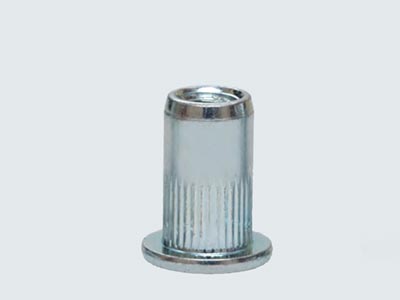
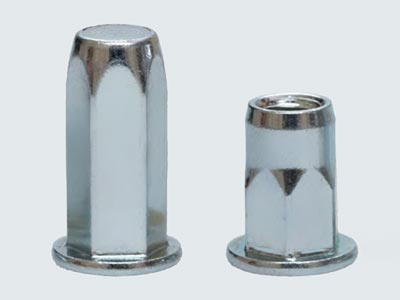
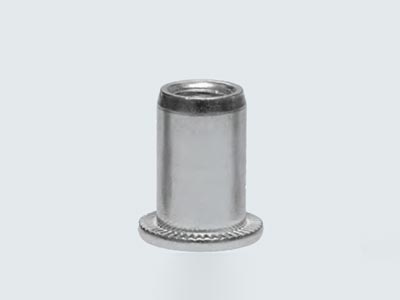
Made of aluminium, steel or stainless steel. As a flat head, countersunk head or small countersunk head, with a round body, knurled round body, hex or part hex body with an open or close ended shank. Other components can be attached while the blind rivet nuts are being installed. Once installed, the blind rivet nut offers a highly-durable internal thread for additional fastening options. Standard commercially available screws are all that is required.
Head types
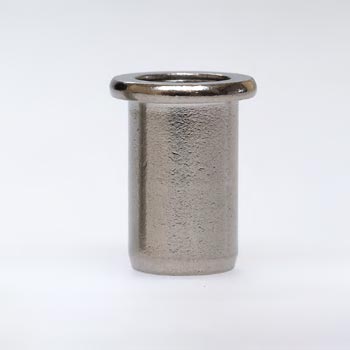
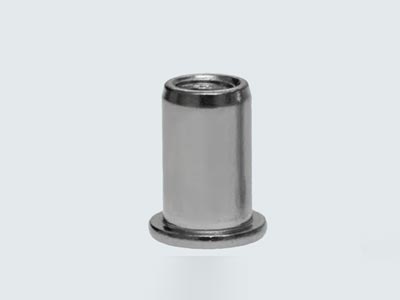
Small countersunk head
- When inserted, the small countersunk head is virtually flush with the substrate surface
- Though no countersinking is needed, the following should be taken into account: Pre-drilled hole tolerances must be observed at all times. The material retaining the blind rivet nut must not be easily malleable as otherwise the fastener may pop out. The screw should not be subjected to oblique tension loads.
Materials and finishes
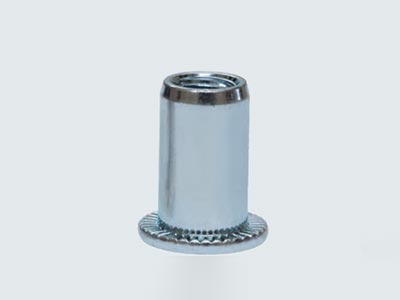
Galvanised steel
- Ideal for standard applications
- Steel blind rivet nuts display quality characteristics at high temperatures
- Our standard finish involves a 5-8µm CrVI-free passivated zinc-plated coat
- RoHS-compatible
- Other finishes are available on request depending on the level of corrosion protection required
Installation notes
Drilling
The mounting hole must be drilled square into the substrate. The snap head side of the hole must be completely deburred and the blind side as free from burr as possible. Dry and grease-free surfaces are recommended for round drilled holes.
Grip range
The minimum and maximum values provided by the manufacturer must not be undercut or exceeded.
Installation space
Pipes or hollow profiles must offer sufficient space (length) for the blind rivet nut to be fully inserted. The snap head must rest fully on the component
Tool position
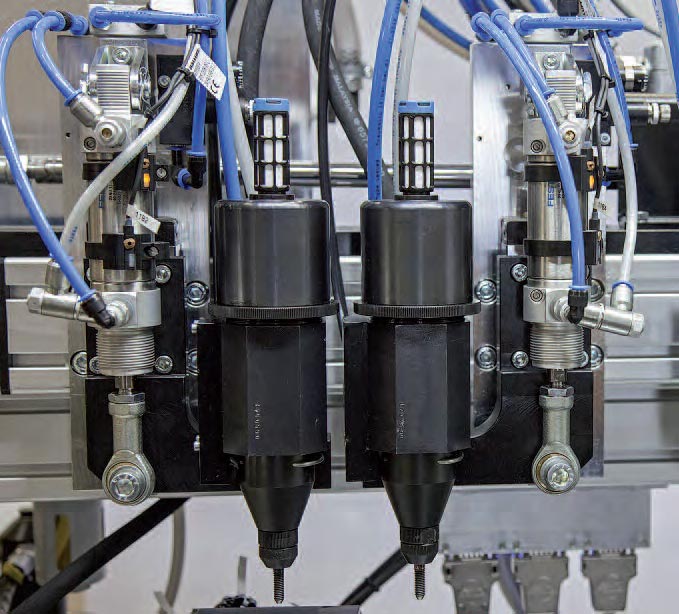
The installation tool must be positioned square to the component. The blind rivet nut can be installed using hand, battery-driven or hydropneumatic tools. A wide variety of tools are available which can be easily retooled for different thread sizes by changing the threaded mandrel and nose piece.
Ideal connection
If the fastener has been properly installed, the fastened component will rest on the snap head.
Installation
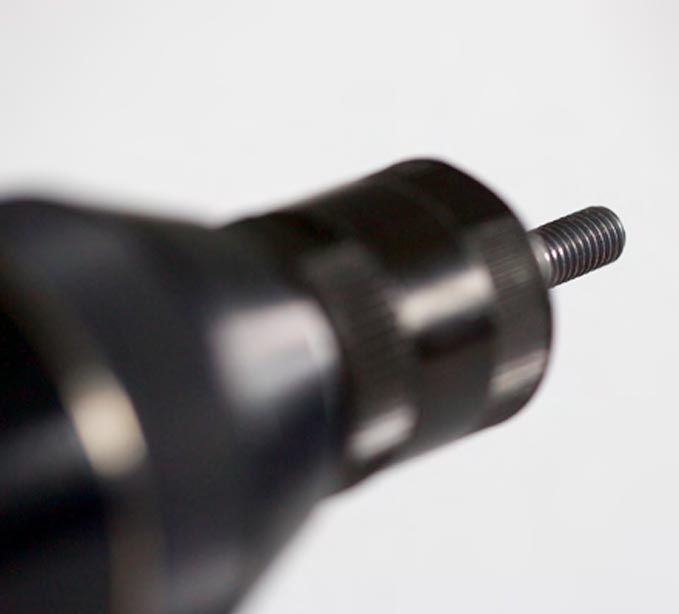
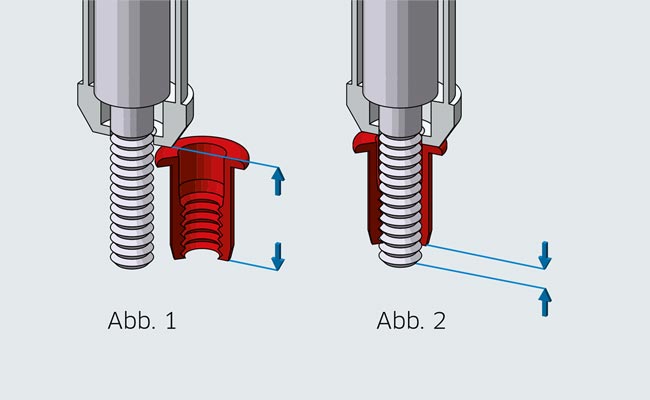
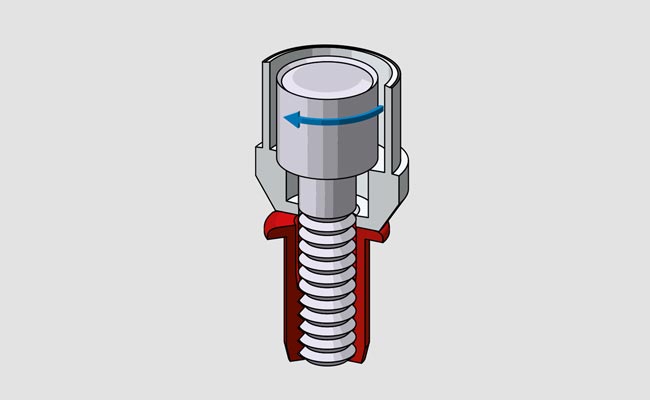
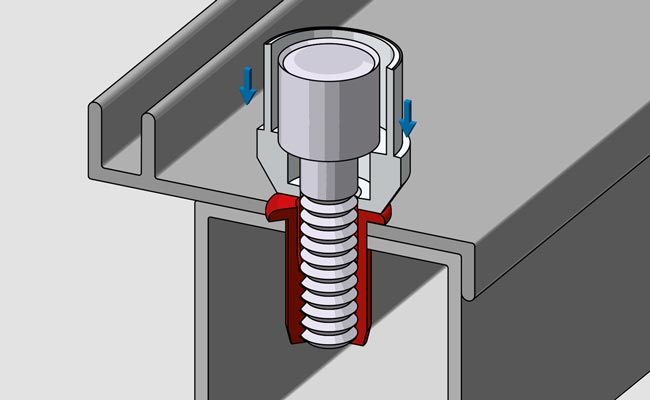
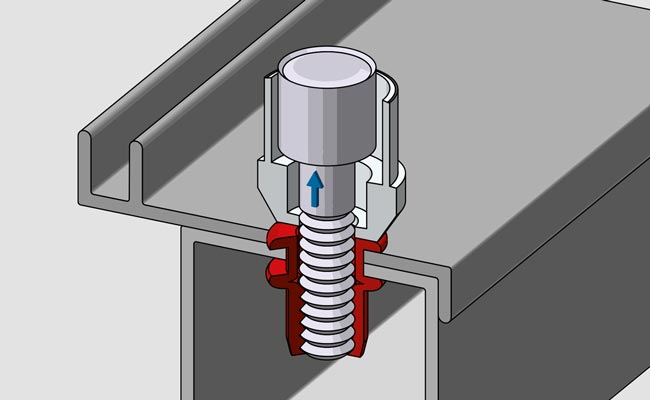
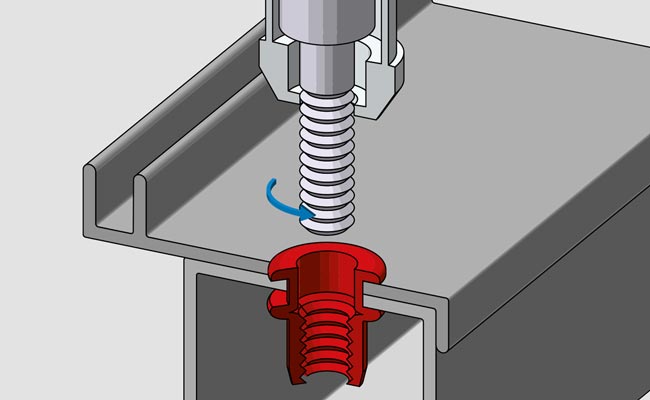
The threaded mandrel and installation tool must cover the entire length of the blind rivet nut to ensure that the internal thread does not deform during the installation process. Fig. 1 shows the correct length of adjustment that the threaded mandrel must have compared to the length of the rivet shank. The tip of the threaded mandrel should then protrude from the blind rivet nut (Fig. 2).
Stroke settings
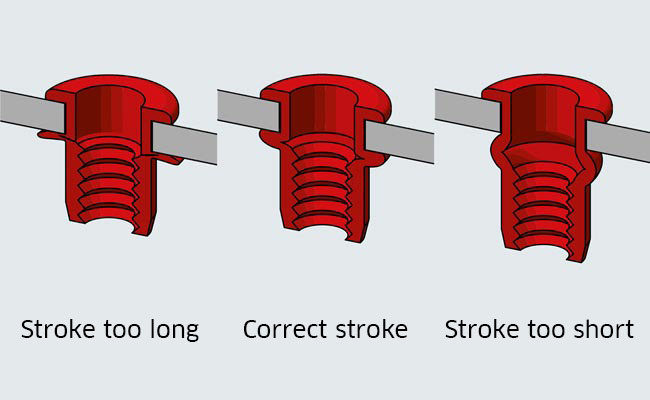
To ensure that the RIV-TI® is properly installed, the installation tool must be set to the correct stroke. Having the right stroke setting is essential and a series of trial installations should be performed first before beginning with the actual installation run. The right installation tool stroke setting varies depending on which blind rivet nut is to be installed and on the thickness of the material. A pear-shaped upset should form on the blind side of the blind rivet nut. Our operating instructions (supplied with each tool) provide full details on how to set the stroke.
